Salt Dough
Salt dough is a great way to keep kids busy for a day or afternoon in preparation for the holiday season. It is easy to use, simple and quick to make, and has the consistency of clay. Usually, it’s baked until solid. Kids can easily work with salt dough to make their own unique creations, even if they are young. The only pitfall is that it takes time to dry, which can be hard to wrangle if you’re working with preschoolers or toddlers. Still, if you want to use salt dough to create holiday ornaments that will make cute keepsakes on your tree or as gifts for family members, it’s worth the wait. The following salt dough recipe is perfect for making ornaments.
Ingredients
You should have most of the following ingredients required to make salt dough around the house:
- One cup of flour (Note: do not use self-rising flower as it will cause the ornaments to bubble as they bake.)
- One half cup of salt
- One half cup of water
- Non-toxic acrylic varnish (Note: this can be found at most major craft stores)
 Tools Needed
The following tools might be of use to you if you decide to make ornaments with your kids. You might think of other materials to decorate your ornaments as well.
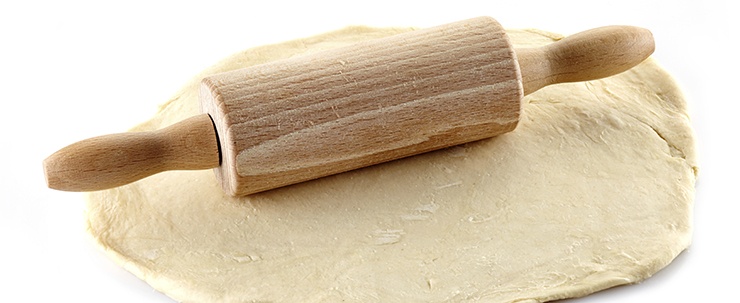
- Rolling pin for rolling the dough flat
- A cookie sheet to bake the ornaments on
- A drinking straw for punching a hole in the top of the ornament so that it can be hung from a string
- Cookie cutters in holiday-themed shapes
- Paint, preferably acrylic
- Paintbrushes
- Glitter, sparkles, and ribbon for decorating the ornaments
 How To
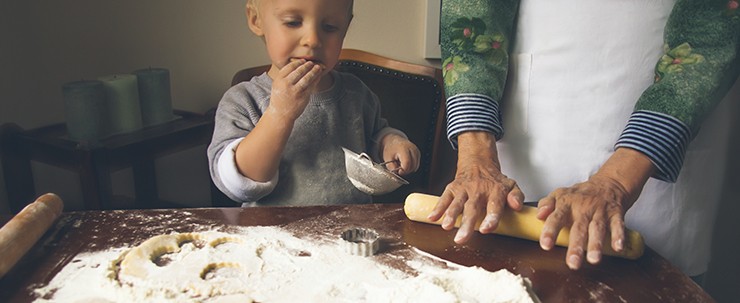
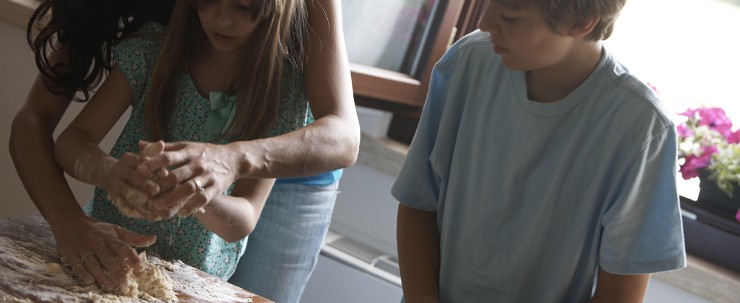
Begin by mixing the dry ingredients in a bowl. Slowly stir in the water as you mix the ingredients. Do not pour in all of the water – you may find you do not need it. The dough should be dry and not sticky. If it is sticky, add more flour. Knead the dough with your hands – your kids can participate – and then roll it out if you plan on making ornaments. Use a cookie cutter to cut shapes. Make sure to punch a hole in the tops of the ornaments with a plastic straw so that you can hang them on the tree. Then it’s time to bake. Place the ornaments flat on a cookie sheet and put them in the oven for two to three hours or until they are completely hard. You should flip them once half-way through the allotted time. After the ornaments have cooled, it’s time to get creative. Your kids can choose to decorate their ornaments however they want, using paint, glitter, sparkles, or other craft items as they see fit. Leaving them blank is also an option. Once your children have finished decorating them, you should give the ornaments time to dry. If you want your ornaments to truly last forever, seal them by coating them with non-toxic varnish. Finish by threading a ribbon through the hole at the top of the ornament and hanging it on the tree with your kids!