Milk Art
If you’ve never made art with milk before, it’s a great craft activity to try with younger children. Milk art doesn’t require a lot in the way of materials and the result is a unique, colorful swirl that will fascinate your child. If you want to try milk art with older kids, try introducing them to the science behind the activity. Read on to find out what you will need to complete this activity at home with your kids.
Materials
You can make milk art with materials and supplies found around your house or at your local grocery store. Gather the following:
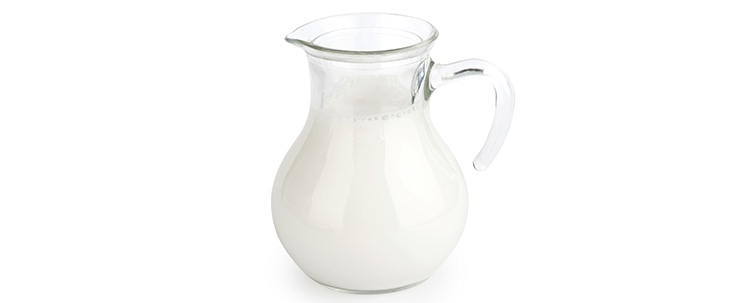
• Whole milk
• Shallow pan
• Dish soap
• Food coloring kit
 How-To
The first step is having your child pour the milk into the pan. It doesn’t matter how high you fill it, so long as mixing the milk doesn’t cause it to spill over the wall of the pan. Have your child squirt a few drops of food coloring into the middle of the pan. One or two drops of each color should be enough. The next step is to add dish soap and watch the colors swirl out from the center of the pan. You might want to continue to add dish soap in the areas where the color is concentrated. This will cause movement as the fat particles in the milk try to move away from the soap. The color is attached to the fat particles and moves with them. Add more spots of food coloring to intensify the color pallet. Once you’ve got a visually stunning mixture of colors, you’re finished.
The Science Behind Milk Art
As mentioned, the movement of the colors in the pan has to do with fat particles in the milk reacting to the dish soap particles. As you may know, fat particles are insoluble in water, meaning that they don’t dissolve. They are known as non-polar particles, while water has polar particles. Dish soap, which has both polar and non-polar particles, can cause the non-polar milk fat to separate, which is illustrated by the food coloring.
 Fun Ideas
Try using a shallow pan or even a plate with less milk for more intensity when it comes to the colors. If you use a deeper pan, you may want to use a Q-tip to help mix the colors around, since there will be more space to fill in a large pan. The only problem with milk art is that eventually, you will have to dump it down the drain – unless, of course, you’re prepared to let it sit out and go sour! In order to have a keepsake, take a picture of the end product. Or if you want to use milk art to inspire your kids, you can have them try to draw what they see afterwards. Another idea that can work is to have your kids dip paper into the milk to transfer the design to the paper. Once you let the paper dry, you’ll have multicolored milk paper.